Recently I was looking at using App registrations with Dynamics 365. I realized that there are not many examples or tutorials that explain how to create a third-party application that connects to Dynamics 365 via an App registration.
Web API was introduced in Dynamics 365 back in 2015 when it is still called CRM. It meant any front-end developer can get access to this outstanding feature of the platform available via the API. If you are a front-end developer and creating functionality with Dynamics 365 in form JS or maybe a custom html web resource, then using pure JavaScript can serve your purpose; what happens if your core capability sits outside of a pure JS .NET stack? Can you create code in React that can communicate with Dynamics 365? Of course, you can! If not, then tutorial can help you out.
Basic Understanding
Every third-party application that connects to Dynamics 365 serves a different purpose. It matters to Dynamics 365 on how much ‘trust’ it can have on your application. There are two very high level concepts here:
- You log in to your application and then on a different tab when you access Dynamics 365 you do not see any log in screen or vice versa - your application and Dynamics 365 trust each other! They trust each other so much that they allow log in session to be carried over from one application to another. This is called implicit log in or single sign on (SSO).
- In your application you can only perform certain functionality in Dynamics 365 (or CDS). Both Dynamics 365 and your application should generally have individual log ins but when you perform certain ‘agreed’ functionality you do not get presented with an intermediate log in screen. It means Dynamics 365/CDS gives your application ‘specific sets’ of permission to perform this operation and only this operation. You may have rightly guessed, this is called explicit log in.
In this tutorial I am going to show how you can build an application with React that can perform implicit log in with Dynamics 365. A similar sort of work is done by Microsoft with pure JS and HTML5. Details of the step can be found in this Microsoft document.
TL:DR
So, here’s what I want to do - create an application that when you start it, you are presented with a global Microsoft log in page. On providing your Dynamics 365 credentials you will be authenticated, and the application will query your Dynamics 365 Account records and display them back to you.
Once logged in to your application you can open the Dynamics 365 UI in another browser tab - you should notice that you are not presented with a log in screen. This will be because your organization’s Active Directory is honoring the log in that you made to your application. I have achieved everything by using Dynamics 365 trial edition and the Azure environment that ships with it. If your organization has hosted Azure, then there can be some extra layer of security associated with it.
Key Components
App Registration
I have already hinted that I am going to use app registration. App registration is exactly what it says on the tin. It is a registration for your app so that it can be trusted by the azure. There is quick start guide available in this MS doc but since I am using a trial dynamic 365 I am going to achieve the same thing slightly differently.
Adal JS
Adal js encapsulates inner workings of a CORS call to authenticate a user with active directory. This MS Doc has very nice definition of adal js. In this example I am using React as my core framework. Adal js has a npm distribution which can be consumed by React application. Npm package in question along with some introductory code can be found here. The most information about adal js is actually hosted in their github repository.
Access Token
In common terms, access token is a BASE64 encoded string which needs to accompany every Api request that you make to any application hosted on or signed by Microsoft. It is something that identifies you as yourself to Microsoft Identify server. This MS Doc gives you elaborate details of what is an access token.
Hands On
With all the definitions and discussion on the key components being done, I think we are now ready to start our tutorial. Here’s what we are going to do today,
Step 1 : Create an application user that ties that application registration into a system user account.
Step 2 : With the help of adal js authenticate a user and bring all those Dynamics 365 goodies into your application.
You might have noticed that I have left out the part where you create a Dynamics 365 trial instance. It is a prerequisite of our tutorial below. Setting up a trial instance of Dynamics 365 is really easy and hence is out of the scope of this discussion. There are plenty of links available online.
Step 1 : Application Registration and User set up
Application Registration
As I mentioned before setting up application registration for a Dynamics 365 trial is slightly different than a dedicated tenant. The core concepts although are the same. So let’s start,
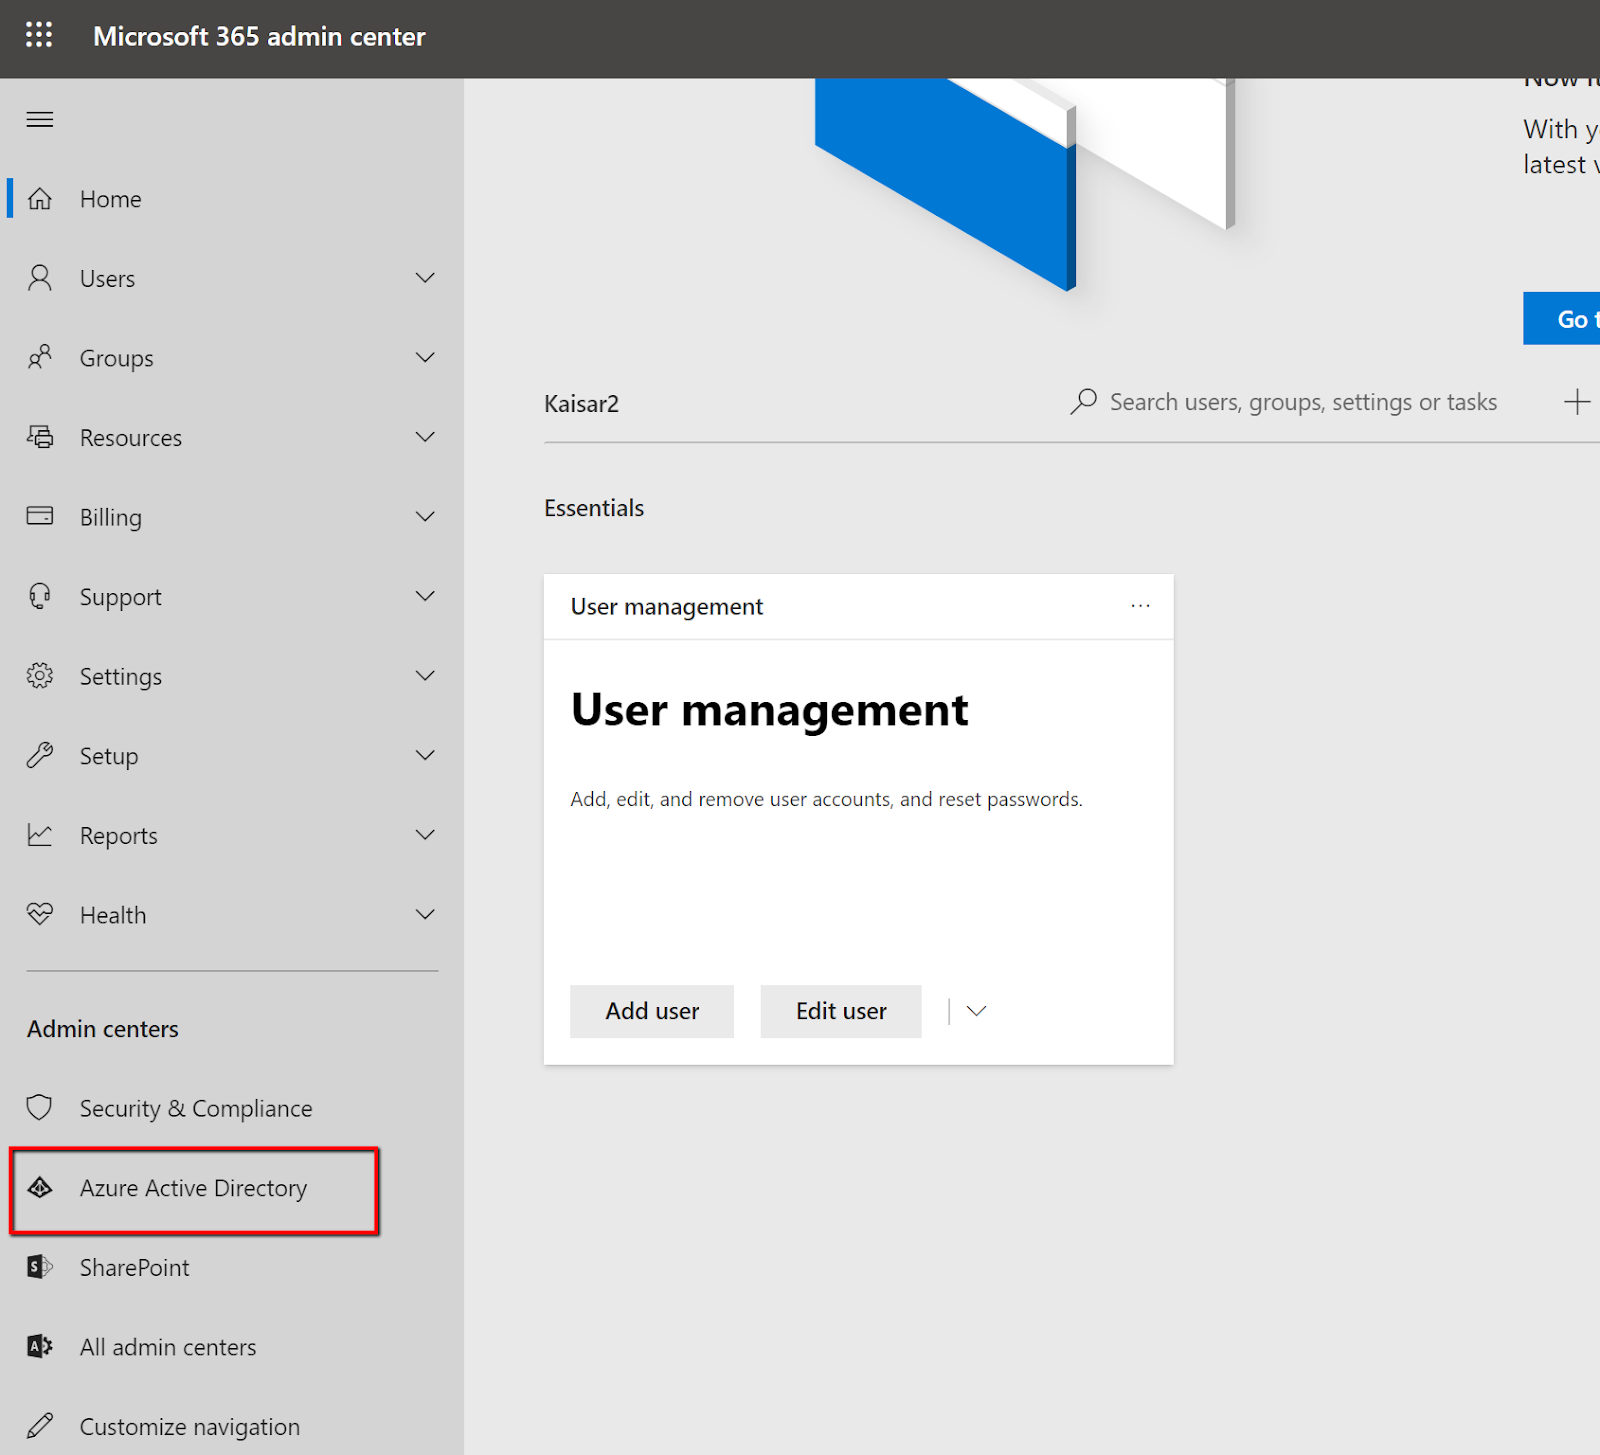
- Log in to your trial Dynamics 365 instance. From there click on the setting menu on the top right corner and select Admin

- On the next screen click on Azure Active Directory. You should be redirected to azure portal.
- Once there, click on Azure Active Directory again

- Once in the Active Directory click on the App Registrations button. When the screen loads it will show you all the application registration you have for this Azure Active Directory. Click on New registration.
- When the screen loads you will be presented with three options,
- Name : You can choose any but the recommendation will be to choose something meaningful
- Supported Account Types: There are three options here. As we know our application will always be used under the context of a Dynamics 365, so I have selected option 1 – Accounts in the organizational directory.
- Redirect URI : Although this is option when creating an app registration however it is most crucial part of setting any app registration before starting to use it. This basically asks what to do when the users have successfully logged into your application. As mentioned, before I am using React and React’s default dev server runs under http://localhost:3000. So I have set the redirect uri as so that it can be run from my machine. So when the app is live this uri will then need to be changed. For implicit sign on the it needs to be selected as web.
It is very crucial to get the redirect uri correct. If your uri is not correct, for instance, your dev server is actually having https not http, then it wont work. After each successful log in you will be again presented with the same log in screen that you passed moments before.
After the set up you can find the app registration following the same first few steps discussed above.

Post Registrations Step
Clicking on the app registration will take you to the home page of the app registration. From that page copy the Application (client) Id Guid. You will need that for setting application in Dynamics 365.

While you are on the application user blade, click on authentication and make sure the following is correct,
- Redirect Uri has at least one item registered, and this item is a Web and a Uri is correctly set up.
- Under the implicit grant ID Token is selected.
- On Supported account type, Account in this organizational directory only is selected. I have not tried with other option since I am using a trial Dynamics 365. Therefore, I am not sure if this step is optional.
There is something I always forget and that is grant access to my app registration to my Dynamics 365 application. Go to Api Permission blade and click Add Perminssion. Select Dynamics 365 from the list and click on user_impersonation and then click on Add Permission at the bottom of the page.
You will then be taken to the previous blade where now you could see the permission you have just added. Click on Grant Admin Consent for <your org name>. After the consent it should look like below,

Application User in Dynamics 365
Setting up an application user is the same as before from back in the day when you could set up a user directly from CRM. This is done by going to
Settings > Security > Users
Once there select Application Users view to unlock the new button. Once the view is refreshed you can click New button and a new user screen should appear. One thing I myself always tend to forget is changing the default view of the form to Application User. In all the other views the fields are disabled. We copied the client id from the previous step, and we will be using it here. So, here’s my application user in Dynamics 365 look like,

Once the user is added it can be treated as a normal user. For this reason, you need to add necessary roles to it as well.
Step 2 – Creating a React application and using the app registration
This portion of the tutorial is focused on React. For this reason, you need to have React installed in your development machine with all its dependency. Once you installed React you are ready to go. In order save the readers from my lousy design skills I am using bootstrap and I have added it as a dependency on my application.
I have already mentioned, the application that I am building will prompt the user to log in to the application by using the same credentials that they use for Dynamics 365. Once logged to just to show the trust between Dynamics 365 and application is established, I am showing a list accounts where the description fields is not empty. So let’s start!
After creating my React app and installing bootstrap I need to install package for Adal through npm. The package is called React Adal and can be found here. It also describes some configuration to get started and I followed this to the letter as well.
My index.js and indexApp.js look like below
All my Adal configuration is located in the AdalConfig.js. Again, there is nothing super crafty about it,
One thing worth disucssing from above is the Api valie. This is where I found myself wasting so much of my time. Endpoints.Api url is against what I am validating application against. I could not find a proper definition of it online. This is my way of defining the setting. I would welcome any other, more valid definition from anyone else. So definition as it currently stands is this,
If you ask Azure, hey azure, can you validate my permission of access to this Api of yours. What ever this is, is what the you’d put under endpoints.api setting.
With that out of the way here is my AdalContext.js
Once this is out of the way the rest if very easy,
And that’s it. I hope I have explained the problem and
solution as elaborately as possible. Like always the code is available on my Github repo
for you. Although it’s been there as ‘as is’ in a non-production ready state, I
would love hear your opinion and if you can see anything that is fundamentally
flawed.